
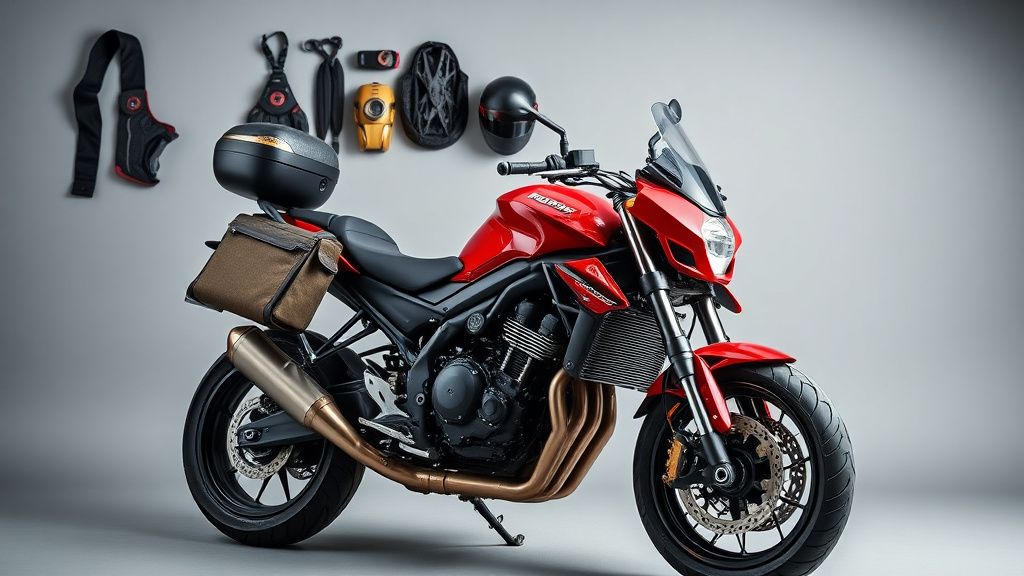
How to Wash Your Motorcycle Like a Pro: Tips for a Showroom Shine
Keeping your motorcycle clean isn’t just about aesthetics—it’s about preserving its finish, preventing corrosion, and maintaining performance. Whether you ride a V-twin cruiser or a high-performance sportbike, a proper wash routine ensures your bike looks as good as it rides. Here’s how to get a pro-level shine without damaging delicate components.
Pre-Wash Prep: Setting Up for Success
Before grabbing the hose, take these steps to protect your bike and make cleaning easier:
- Park in the shade: Direct sunlight causes soap to dry too quickly, leaving streaks.
- Cool the engine: A hot engine can warp plastics or cause cleaning products to evaporate prematurely.
- Remove loose debris: Use a soft brush or microfiber cloth to wipe away dirt, leaves, or bugs.
- Cover sensitive areas: Use waterproof covers or plastic bags over the exhaust, air intake, and electrical components (like the battery and ignition).
Choosing the Right Cleaning Products
Not all cleaners are safe for motorcycles. Avoid household detergents—they strip wax and can damage paint. Instead, opt for:
- pH-balanced motorcycle shampoo: Gentle on paint, chrome, and rubber seals.
- Degreaser: For stubborn grime on chains, sprockets, or engine casings (choose a biodegradable formula).
- Wheel cleaner: Non-acidic formulas prevent corrosion on alloy or chrome wheels.
- Microfiber towels and mitts: Scratch-free and highly absorbent.
Pro Tip: For matte finishes, use a dedicated matte cleaner—gloss products can leave shiny streaks.
The Step-by-Step Wash Process
1. Rinse Thoroughly
Use a gentle spray (not a pressure washer) to loosen dirt. High-pressure water can force moisture into bearings, seals, or electrical connections. Focus on wheels and fenders where grime accumulates.
2. Soap and Scrub
- Two-bucket method: Fill one bucket with soapy water, another with clean water. Dip your mitt in soap, wash a section, then rinse the mitt in the clean bucket to avoid grinding dirt back into the paint.
- Work top to bottom: Start with the windshield (if equipped) and tank, then move to lower areas like the frame and wheels.
- Soft brushes for tight spots: Use detailing brushes for between spokes, radiator fins, and chain guards.
3. Tackle Tough Grime
- Bug residue: Soak a towel in cleaner and lay it on affected areas (e.g., fairings or windshields) for a few minutes before wiping.
- Chain cleaning: Spray degreaser on a rag (not directly on the chain to avoid contaminating the sprocket) and wipe grime away.
4. Rinse and Dry
Rinse with low-pressure water, then dry immediately with a microfiber towel to prevent water spots. A leaf blower can help eject water from crevices.
Post-Wash Detailing
1. Polish and Protect
- Waxing: Apply a motorcycle-specific wax to painted surfaces every few washes for UV protection and water beading.
- Chrome care: Use a chrome polish to prevent rust and restore shine.
- Plastic and rubber treatment: Apply UV protectant to prevent fading on dash panels, grips, and hoses.
2. Lubricate Moving Parts
- Chain: Apply a high-quality chain lube after cleaning (let it sit for 10 minutes, then wipe excess to avoid fling).
- Pivots and cables: Use a silicone-based lubricant on footpegs, levers, and throttle cables.
What to Look for in Motorcycle Cleaning Products
When shopping for cleaners and tools, prioritize:
- Non-abrasive formulas: Avoid products with harsh chemicals or grit.
- Specialized tools: Wheel brushes with soft bristles, microfiber mitts with deep piles, and compact detailing brushes for tight spaces.
- Waterless wash options: Great for quick touch-ups between deep cleans (ideal for road trips).
Final Touches for a Showroom Finish
- Glass cleaner: Use an ammonia-free formula for windshields and mirrors.
- Tire shine: Apply a gel-based product (avoid overspray on brakes).
- Inspect for missed spots: Check under the fenders, around the exhaust, and behind foot controls.
By following these steps, your V-twin or sportbike will look pristine while staying protected from the elements. Regular cleaning also gives you a chance to spot potential issues like loose bolts or leaks before they become serious. Now, grab your gear and hit the road—your bike is ready to turn heads.
Our picks worth a closer look
- — see current price and specs.
- — see current price and specs.
- — see current price and specs.
- — see current price and specs.
- — see current price and specs.