
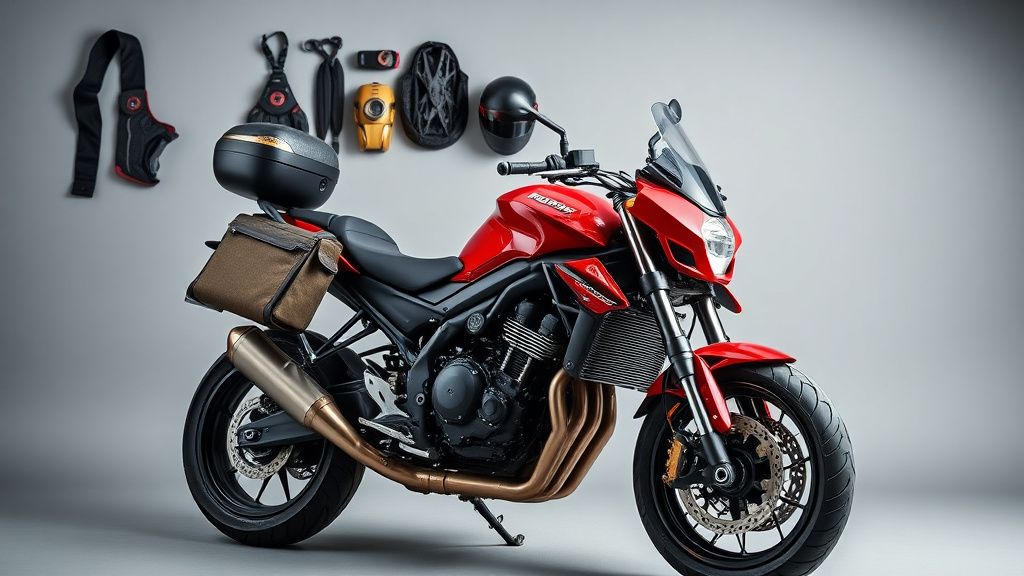
How to Install Handlebars on Your V-Twin Cruiser: A Step-by-Step Tutorial
Upgrading or replacing the handlebars on your V-twin cruiser can dramatically improve comfort, control, and style. Whether you’re switching to ape hangers, drag bars, or beach bars, the installation process requires careful attention to detail. This guide walks you through the steps while highlighting key considerations for a smooth upgrade.
Tools and Materials You’ll Need
Before starting, gather the following tools and parts:
- Metric or SAE wrenches/sockets (depending on your bike’s fasteners)
- Allen keys (for riser bolts and controls)
- Torque wrench (critical for proper tightening)
- Wire strippers/crimpers (if extending cables)
- Electrical tape or heat shrink tubing
- Threadlocker (blue) (to secure bolts)
- New handlebars (ensure compatibility with your cruiser’s riser size—typically 1” or 1-1/4”)
- Optional: Replacement cables (throttle, clutch, brake) if needed for taller bars
Step 1: Remove the Old Handlebars
- Disconnect the battery – Prevent electrical shorts while working on wiring.
- Loosen controls – Unscrew the throttle, clutch, brake lever, and switch housings. Slide them off the bars but leave wires connected.
- Detach riser bolts – Use the correct socket to loosen the riser clamps holding the bars. Lift the bars free once all bolts are removed.
Pro Tip: Take photos of your control layout before disassembly for easier reassembly.
Step 2: Prepare the New Handlebars
- Check fitment – Ensure the new bars’ diameter matches your risers (common sizes: 1” for most cruisers, 1-1/4” for beefier setups).
- Align controls – Mock up the position of grips, levers, and switches. Mark drill holes if needed for internal wiring.
- Transfer components – Slide controls onto the new bars in the correct order (e.g., throttle tube first, then switches).
What to Look For:
- Material: Steel bars are durable; aluminum is lighter but may flex.
- Pullback/rise: Taller bars (e.g., 12” apes) may require longer cables.
- Finish: Chrome, black, or raw steel—choose based on your bike’s aesthetic.
Step 3: Route Cables and Wiring
- Test fit – Temporarily mount the bars to check cable/wire length. If stock cables are too short, order extended ones.
- Extend wiring (if needed) – Splice and solder wires using heat shrink tubing for insulation. Avoid excessive tension.
- Secure lines – Use zip ties to keep cables tidy and prevent interference with steering.
Warning: Kinked or stretched cables can affect throttle response or braking—replace if damaged.
Step 4: Mount the Handlebars
- Install riser clamps – Place bars into risers, aligning them symmetrically.
- Tighten bolts gradually – Snug the riser bolts evenly, then torque to manufacturer specs (usually 15–25 ft-lbs).
- Reattach controls – Secure switches, levers, and grips at your preferred angles.
Pro Tip: Apply threadlocker to riser bolts to prevent loosening from vibration.
Step 5: Test and Adjust
- Check clearance – Turn the bars lock-to-lock to ensure they don’t hit the tank or fairings.
- Test functions – Verify throttle, brakes, clutch, and horn work smoothly before riding.
- Fine-tune ergonomics – Adjust lever angles for comfort; consider adding bar-end mirrors if needed.
Maintenance Tips
- Periodically check riser and control bolts for tightness.
- Lubricate throttle cables to prevent sticking.
- Inspect wiring for wear if you’ve routed it internally.
Final Thoughts
Installing new handlebars on your V-twin cruiser is a rewarding DIY project that enhances both function and style. By following these steps and prioritizing proper fitment, you’ll enjoy a safer, more comfortable ride. For radical changes (e.g., ultra-tall apes), consult a mechanic to ensure cable and frame compatibility.
Now hit the road and enjoy your upgraded control!
Our picks worth a closer look
- — see current price and specs.
- — see current price and specs.