
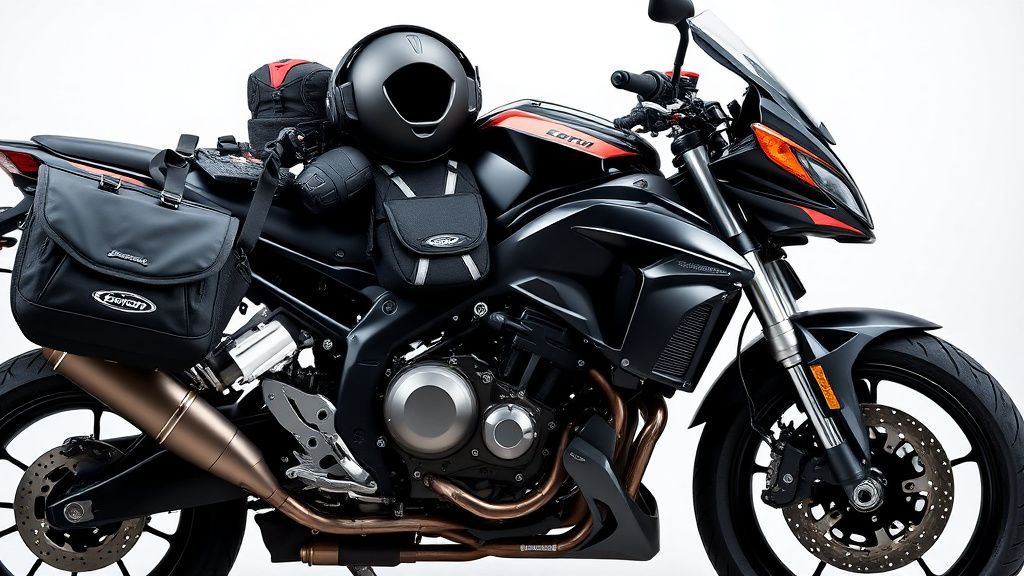
How to Bleed Motorcycle Brakes: A DIY Guide for Sportbike Owners
Brake bleeding is a crucial maintenance task that ensures your motorcycle’s braking system performs at its best. Whether you ride a high-performance sportbike or a V-twin cruiser, properly bled brakes mean better stopping power, improved lever feel, and safer rides. This guide walks you through the process step-by-step, including what tools you’ll need and what to look for when selecting brake fluid.
Why Bleeding Your Brakes Matters
Over time, air bubbles and moisture can accumulate in your brake lines, reducing hydraulic pressure and making your brakes feel spongy. Bleeding removes these contaminants, restoring firm lever response. If you notice:
- A soft or mushy brake lever
- Reduced stopping power
- Brake fade after hard use
It’s time to bleed your brakes.
Tools and Supplies You’ll Need
Before starting, gather these essentials:
Brake Fluid
Motorcycle brakes typically use DOT 4 or DOT 5.1 fluid. Avoid DOT 5 (silicone-based), as it’s incompatible with most sportbike systems. Look for:
- High boiling point (important for aggressive riding)
- Low viscosity (for better performance in ABS systems)
- Sealed containers (prevents moisture absorption)
Bleeding Kit
A basic kit includes:
- Clear vinyl tubing (fits snugly over the bleed nipple)
- Catch bottle (to collect old fluid)
- Wrench or socket (for the bleed valve, usually 8mm or 10mm)
Additional Helpful Tools
- Syringe or vacuum bleeder (for one-person bleeding)
- Clean rags & brake cleaner (prevents contamination)
- Torque wrench (for precise caliper bolt tightening)
Step-by-Step Brake Bleeding Process
1. Prep Your Bike
- Park on a level surface, ideally with a rear stand or paddock stand for stability.
- Remove the reservoir cap and clean any debris to avoid contamination.
- Cover painted surfaces—brake fluid damages paint.
2. Open the Bleed Valve
- Locate the bleed nipple on the caliper (usually at the top).
- Attach the clear tubing to the nipple and place the other end in a catch bottle.
3. Flush Old Fluid
- Pump the brake lever several times, then hold it down.
- Open the bleed valve slightly—fluid (and air) will escape.
- Close the valve before releasing the lever to prevent air from being sucked back in.
- Repeat until fresh, bubble-free fluid flows out.
4. Refill the Reservoir
- Keep the reservoir topped off to avoid introducing air into the system.
- Use only fresh, unopened brake fluid—never reuse old fluid.
5. Final Check
- Ensure the lever feels firm with no sponginess.
- Test brakes gently before riding at speed.
What to Look for When Choosing Brake Fluid
Not all brake fluids are the same. Here’s what to consider:
- DOT Rating – Most sportbikes use DOT 4 (higher boiling point than DOT 3). Track riders may prefer DOT 5.1 for extreme heat resistance.
- Dry & Wet Boiling Points – Higher numbers mean better performance under heavy braking.
- ABS Compatibility – Some modern fluids are optimized for ABS systems.
- Brand Reputation – Stick to well-known manufacturers for consistent quality.
Troubleshooting Common Issues
- Spongy Lever After Bleeding? – There’s still air in the system. Re-bleed or try a vacuum pump.
- Fluid Leaks? – Check banjo bolts and seals for tightness. Replace worn parts.
- Discolored Fluid? – A sign of moisture contamination—flush the system completely.
Final Tips for Sportbike & V-Twin Riders
- Bleed brakes annually or after track days.
- Avoid cross-contamination—never mix DOT ratings.
- Upgrade lines? Consider braided stainless steel for improved feel.
By following these steps, you’ll maintain peak braking performance and ride with confidence. Always double-check your work before hitting the road!
Our picks worth a closer look
- — see current price and specs.
- — see current price and specs.
- — see current price and specs.
- — see current price and specs.
- — see current price and specs.